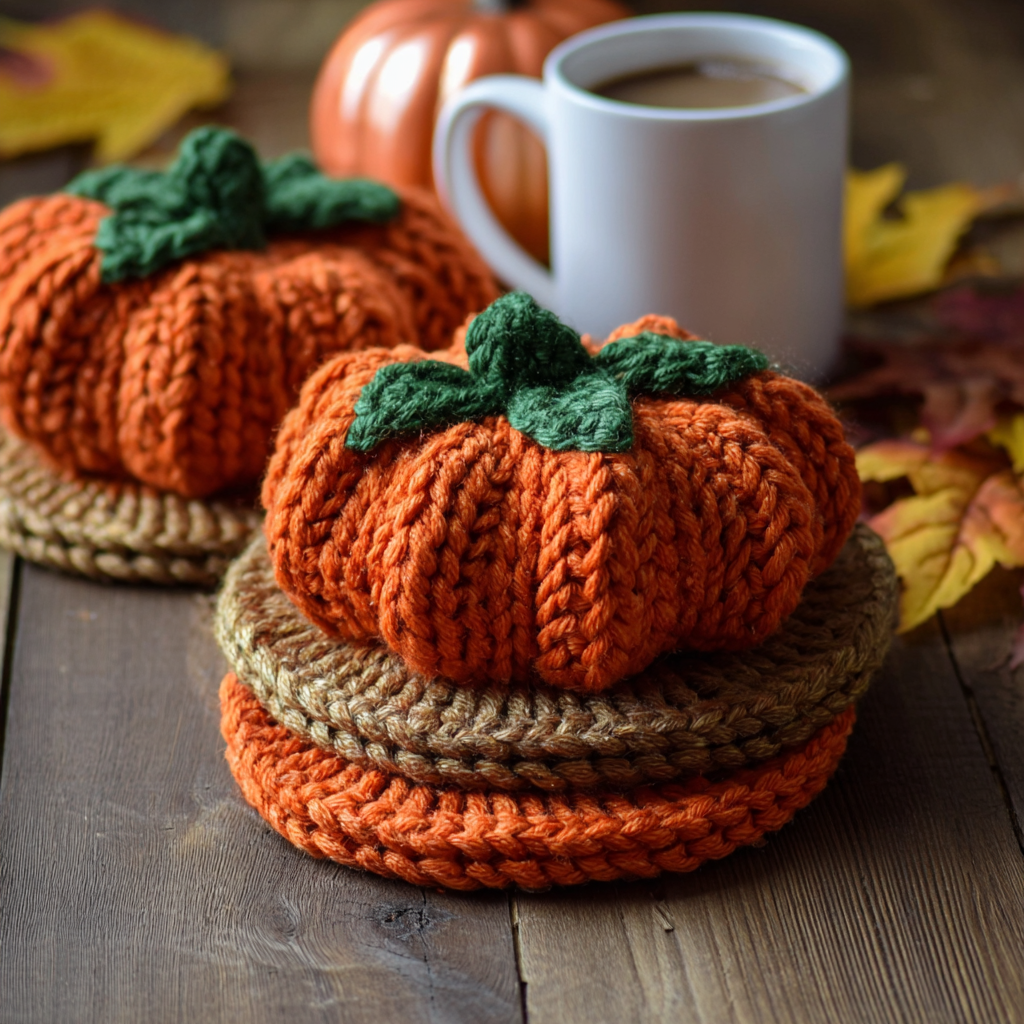
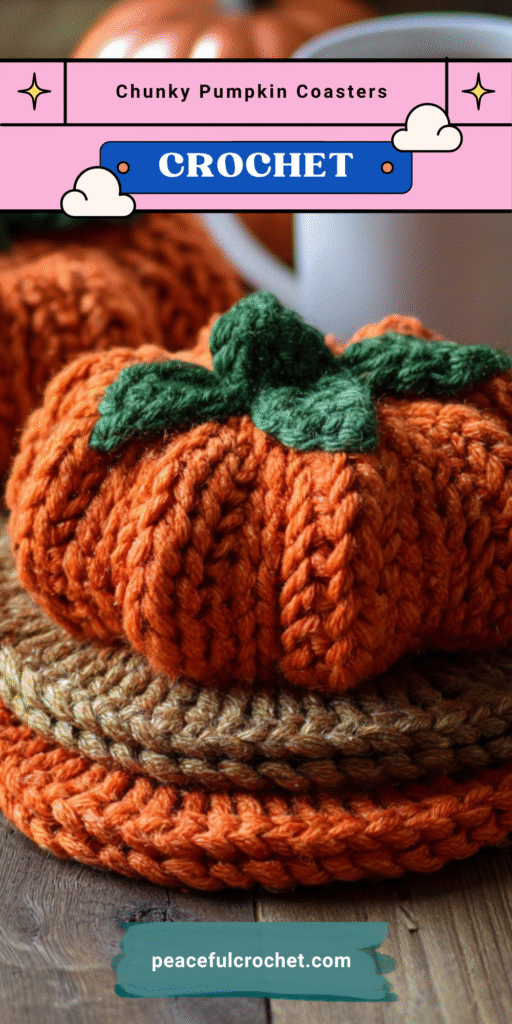
Bring cozy autumn vibes to your home with these Chunky Pumpkin Coasters! They’re easy to make, beginner-friendly, and perfect for fall décor or handmade gifts. In this tutorial, you’ll learn step-by-step how to crochet these adorable pumpkins that double as coasters or festive table accents.
🍂 What You’ll Need:
- Yarn: Bulky or super bulky yarn in orange, green, and brown (cotton or acrylic)
- Crochet Hook: 6.5 mm (K) or size suitable for your yarn
- Tapestry Needle: For sewing and weaving in ends
- Scissors
- Polyfill (optional): If you want to make them slightly puffy
🧶 Abbreviations (US Terms)
- CH – Chain
- SL ST – Slip Stitch
- SC – Single Crochet
- HDC – Half Double Crochet
- DC – Double Crochet
- INC – Increase (2 stitches in same stitch)
- ST – Stitch
🎃 Step 1: Crochet the Pumpkin Base
- Start with orange yarn.
Make a magic ring and CH 2 (counts as first DC). - Work 11 DC into the ring. Pull tight and join with a SL ST to the top of the CH 2. (12 DC total)
- Round 2: CH 2, DC INC in each stitch around. Join with SL ST. (24 DC total)
- Round 3: CH 2, 1 DC in next stitch, 2 DC in next stitch, repeat around. Join. (36 DC total)
- Round 4 (optional for larger size): CH 2, DC in next 2 stitches, 2 DC in next stitch, repeat around. Join. (48 DC total)
You should now have a round, flat coaster shape.
🍁 Step 2: Add Pumpkin Ridges
To give your pumpkin its signature look:
- Cut yarn, leaving a long tail.
- Thread the tapestry needle with the yarn tail.
- Sew from the center hole down to the outer edge, then back to the center. Pull slightly to form ridges.
- Repeat this 5–6 times evenly around the pumpkin. Tie off securely.
🌿 Step 3: Crochet the Leaves
- With green yarn: CH 6.
- Work 1 SC in 2nd CH from hook, 1 HDC in next, 1 DC in next, 1 HDC in next, 1 SC in last CH.
- SL ST to the first CH to form the leaf shape. Fasten off and weave in ends.
(Make 2 leaves per pumpkin for a fuller look.)
🌰 Step 4: Make the Stem
- With brown yarn: CH 6.
- SL ST in each CH across.
- Fasten off and sew to the top center of the pumpkin.
🧵 Step 5: Assemble
- Attach the leaves beside the stem.
- If desired, stuff the pumpkin lightly with polyfill before closing to make it 3D.
- Secure all pieces neatly and weave in the ends.
☕ Step 6: Enjoy!
Use your chunky pumpkin coasters under your favorite fall mugs, or stack a few and tie them with a ribbon for a lovely handmade gift. 🍁
✨ Tips:
- Try mixing shades of orange and green for a rustic set.
- Use cotton yarn for durability if you’ll actually place hot mugs on them.
- Add a cinnamon stick instead of a crochet stem for a fun twist!
Leave a Reply