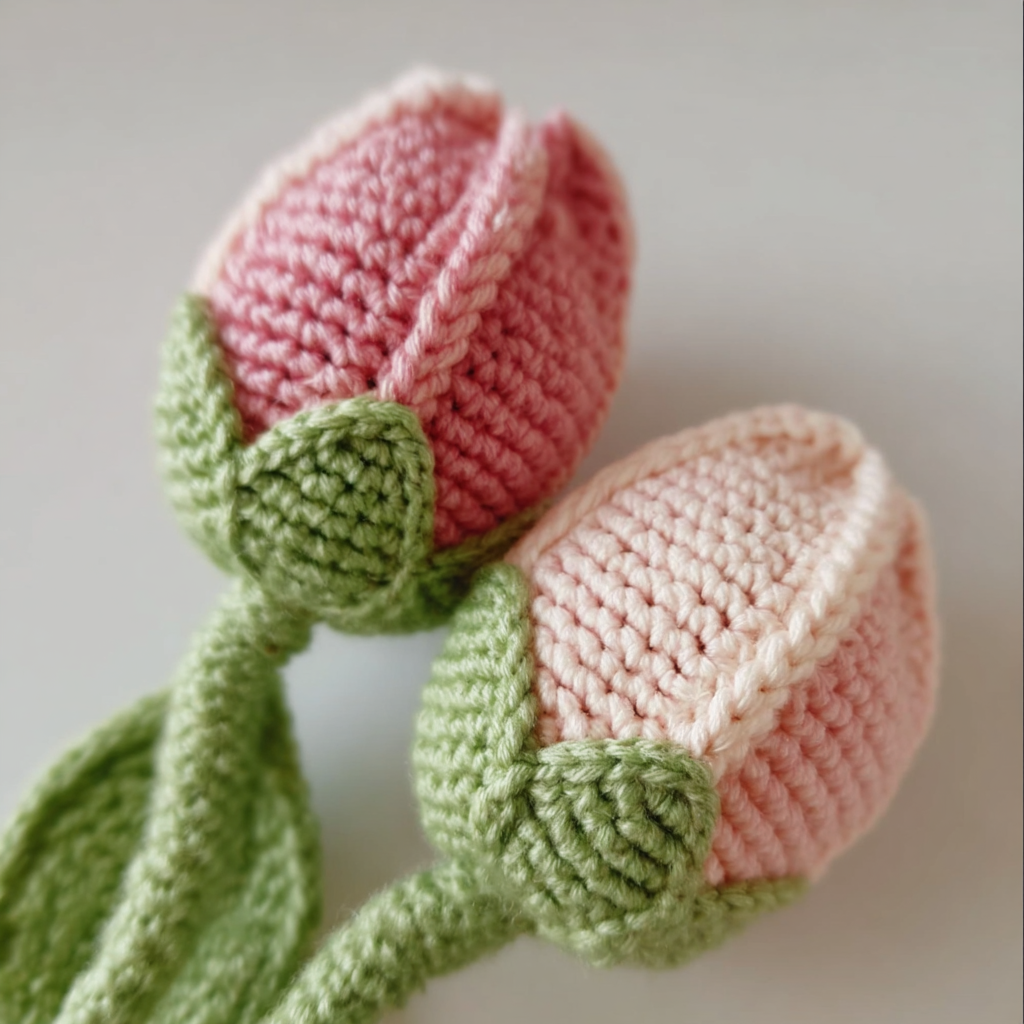
Brighten your day with these beautiful crochet tulips — the perfect handmade flowers that never fade! These tulips make lovely home décor, thoughtful gifts, or adorable additions to crochet bouquets. Follow this easy step-by-step guide to make your own soft and colorful tulips!
🌸 Materials Needed:
- Yarn: Worsted weight yarn (in pink, purple, green, or any color you like)
- Crochet Hook: 3.5 mm (E) or 4 mm (G)
- Tapestry Needle
- Scissors
- Fiberfill (optional): For stuffing the tulip head
🧶 Abbreviations (US Terms)
- MR – Magic Ring
- CH – Chain
- SC – Single Crochet
- INC – Increase (2 SC in one stitch)
- DEC – Decrease (SC two stitches together)
- ST – Stitch
🌷 Step 1: Crochet the Tulip Head
- Start with flower color yarn (pink or purple):
Make a magic ring, and work 6 SC into it. (6) - Round 2: INC in each stitch around. (12)
- Round 3: (1 SC, INC) repeat around. (18)
- Round 4–7: SC in each stitch around. (18)
→ You’ll now have a little cup shape forming. - Round 8: (1 SC, DEC) repeat around. (12)
- Round 9: (DEC) repeat around. (6)
Stuff lightly with fiberfill, then close the opening by weaving through the last 6 stitches and pulling tight. Fasten off.
🌼 Step 2: Crochet the Petals
- Attach same color yarn to the base of the tulip.
- Work CH 7, then SC back down the chain (6 SC). SL ST in next stitch at the base.
- Repeat this process 5–6 times around the tulip base to form petals.
- Shape them by curving each petal slightly outward.
🌿 Step 3: Crochet the Stem
- With green yarn: CH 35 (or desired length).
- Starting in 2nd CH from hook, SC in each stitch down the chain.
- Fasten off, leaving a long tail for sewing.
🍃 Step 4: Crochet the Leaf
- With green yarn: CH 16.
- SC in 2nd CH from hook, HDC in next 3, DC in next 7, HDC in next 3, SC in last CH.
- CH 1, turn, and work back up the other side of the chain: SC, HDC, DC, HDC, SC.
- Fasten off and weave in ends.
Make 1–2 leaves per tulip.
🌺 Step 5: Assemble Your Tulip
- Sew the green stem to the base of the tulip head.
- Attach the leaves along the stem using your tapestry needle.
- Bend the stem slightly to give it a natural curve.
You now have your very own crochet tulip! 🌷
🪄 Tips:
- Mix colors to create a full bouquet.
- Add floral wire inside the stem for stability.
- Use thinner yarn and a smaller hook for mini tulips.
Leave a Reply