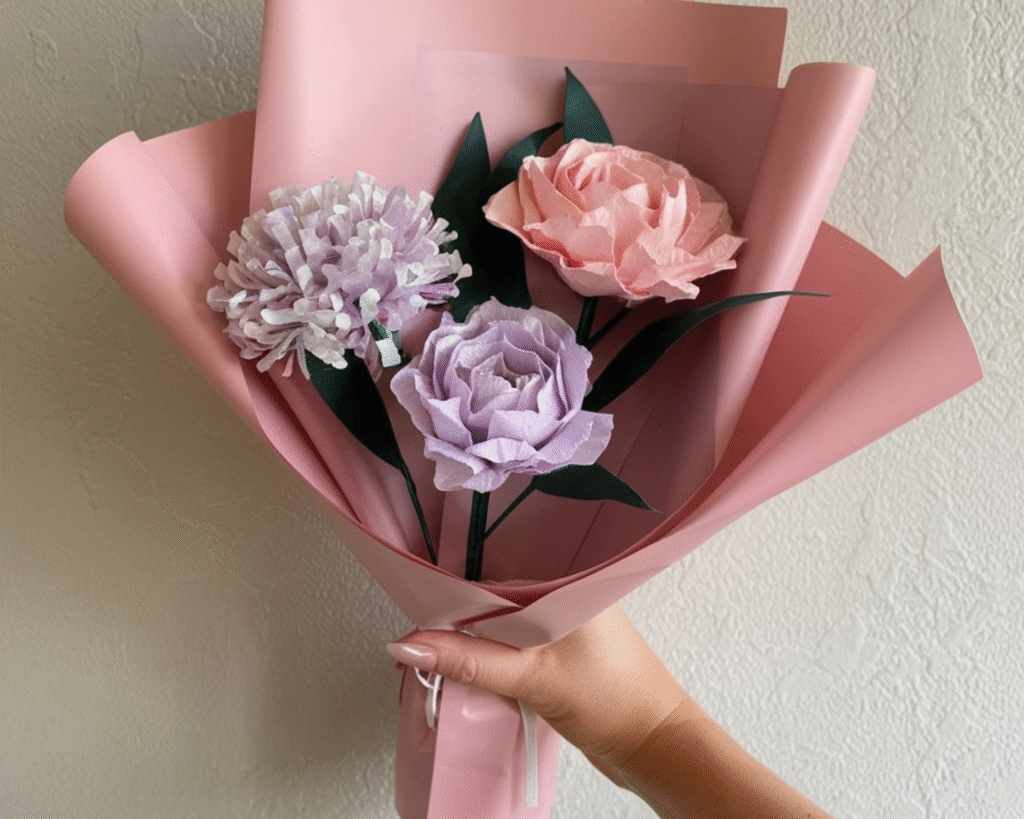
Bring a touch of everlasting beauty into your home with this handmade paper flower bouquet! Featuring pastel pink and lavender blooms with deep green leaves, this stunning craft project is perfect for gifting on birthdays, weddings, anniversaries, or simply to brighten your own space. The best part? These flowers never wilt!
🌷 Materials You’ll Need
- Crepe paper or craft paper in pink, lilac, and white
- Green floral paper (for leaves and stems)
- Floral wire or wooden sticks
- Hot glue gun or craft glue
- Scissors
- Tape (green floral tape preferred)
- Wrapping paper (soft pink or color of your choice)
- Ribbon or twine for tying
🌸 Step-by-Step Instructions
1. Create the Petals
- Cut crepe paper strips into petal shapes — around 2 inches tall for small flowers and 3 inches for larger ones.
- Gently stretch the centers of each petal to add a natural curve.
- For layered flowers (like roses or peonies), make 10–15 petals per bloom.
2. Form the Flower Center
- Roll a small strip of crepe paper tightly to form a bud.
- Secure it around your floral wire with glue.
- Start adding petals one by one, overlapping slightly, and glue them in place as you go.
3. Add the Leaves and Stems
- Wrap the lower part of each flower with green floral tape to create a stem.
- Cut leaf shapes from green paper, fold slightly down the middle for dimension, and glue them along the stem.
4. Make Multiple Flowers
- Repeat the process to create flowers in different colors and sizes for variety.
- You can mix roses, carnations, and pom-pom-style blooms for a fuller bouquet look.
5. Assemble the Bouquet
- Arrange the flowers together in your hand until you like the composition.
- Wrap them with pastel pink or kraft paper in layers for an elegant look.
- Secure with tape, then tie a ribbon or twine around the base for a beautiful finishing touch.
💐 Display or Gift It!
Your handmade bouquet can be displayed in a vase or presented as a thoughtful gift. It’s perfect for:
- Mother’s Day 💕
- Weddings 💍
- Birthdays 🎂
- Home décor 🏡
These delicate flowers are a long-lasting alternative to fresh blooms — full of charm and creativity.
Leave a Reply